

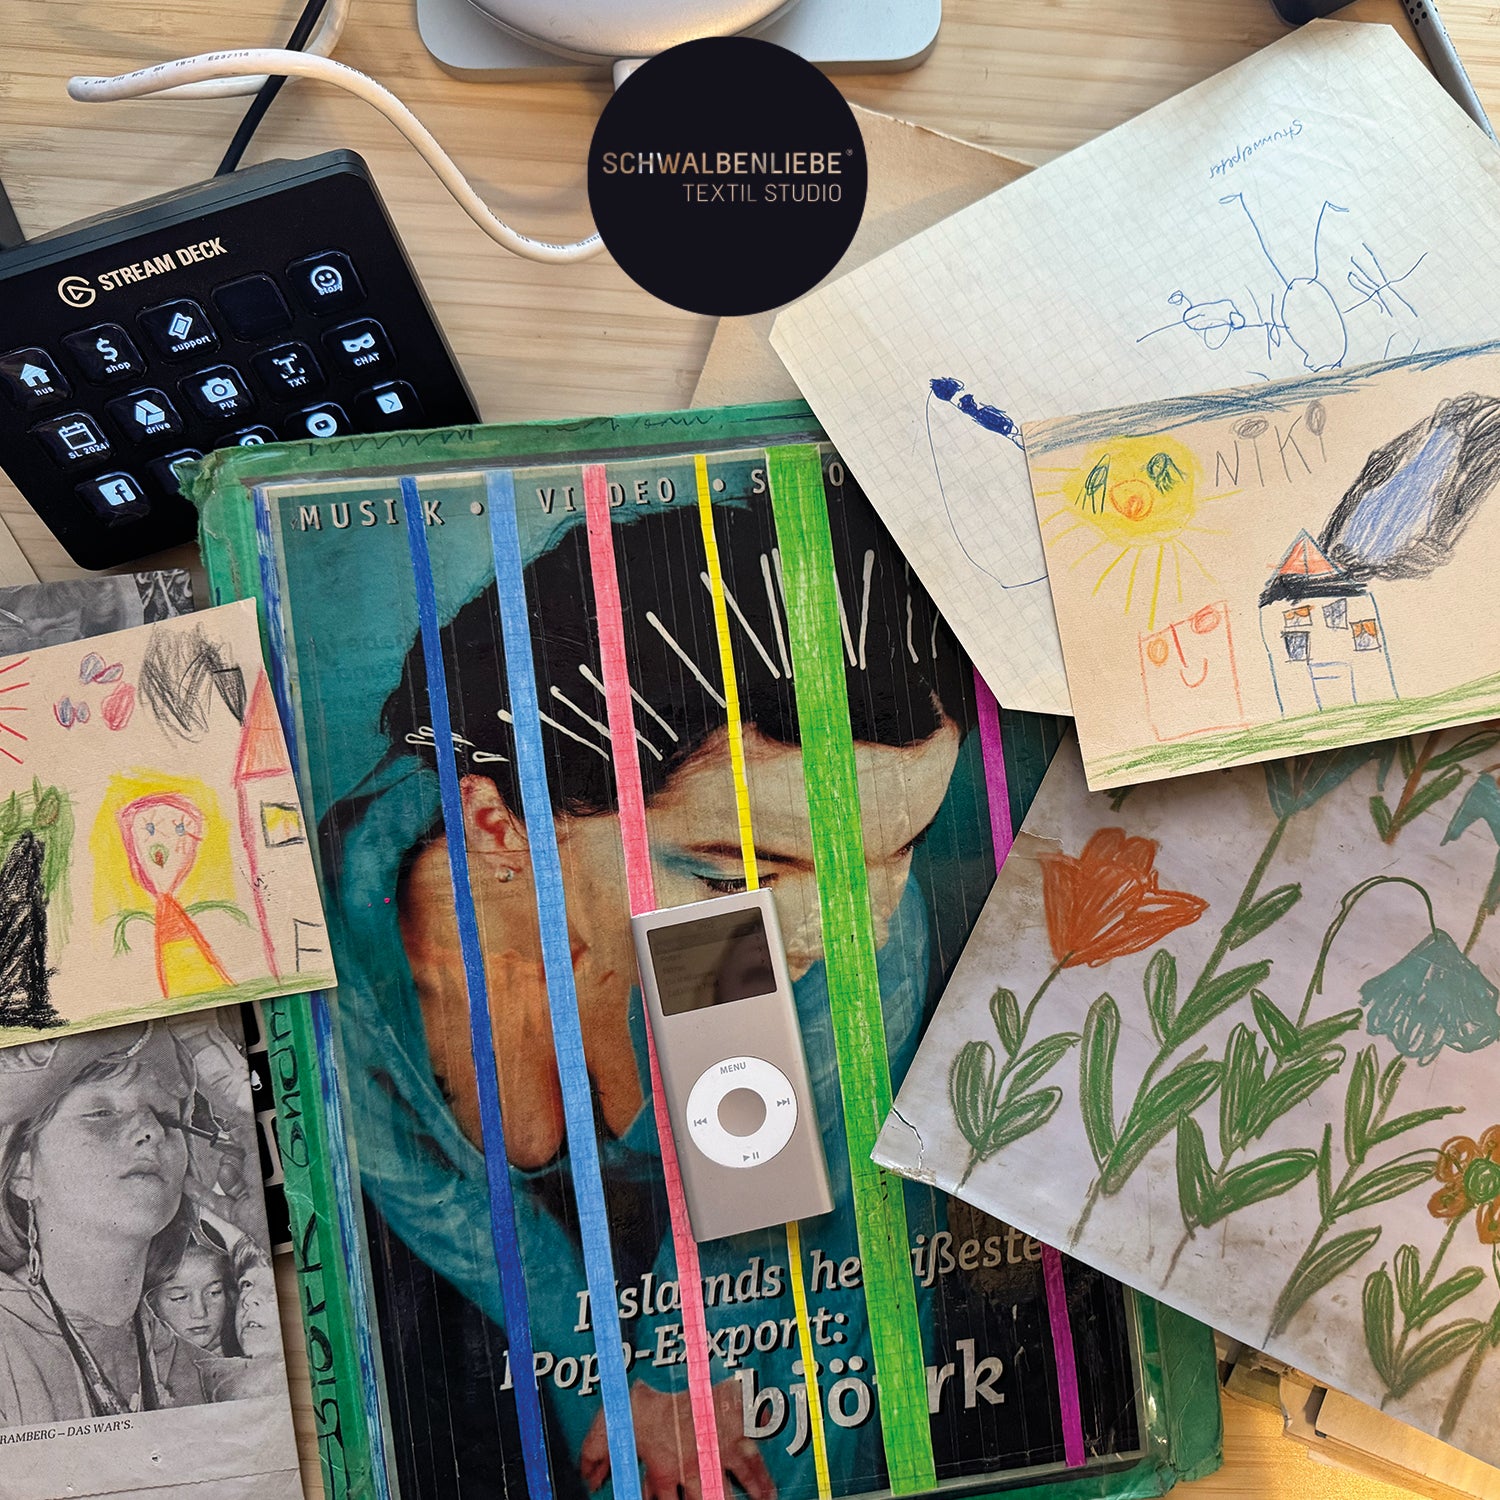
CHILDHOOD IDOL & SCHOOL COMPANION ANNO 1994
Björk Guðmundsdóttir [ˈpjœr̥k ˈkvʏðmʏntsˌtoʊhtɪr] – musician and artist from Iceland. My idol for over 30 years and, alongside David Bowie, arguably one of the most influential figures of our century. I still vividly remember hearing her first album, Debut , and instantly being transported to another world. Iceland – a country that Björk describes so enchantingly in many of her songs that her music ignited my longing for this place. This longing grew into a deep bond with Icelandic nature and culture. To this day, Iceland feels like my true home. Of course, many other reasons have been added over the years, but I associate the most beautiful trips and experiences with this magical place. When I'm in Iceland, my heart beats more calmly. I feel a serenity that I rarely find elsewhere. Björk still accompanies me to this day – sometimes through her music, sometimes as a cautionary voice reminding us how important it is to protect nature, even in Iceland. And always with a loving feeling that connects us, because we are both getting older. She has always possessed a certain wisdom, like a modern-day Norn.
THE VISION & CUTTING INGREDIENTS
Who is the designer behind 'the swanddress'?
The famous swan dress that Björk wore to the 2001 Academy Awards was designed by the Macedonian artist and designer Marjan Pejoski . This dress went down in fashion history not only because of its extraordinary appearance, but also because of its provocative symbolism.
The dress was both admired and ridiculed – it remains polarizing to this day. But that's precisely what makes it so iconic: it's more than a dress, it's a message. Björk showed that fashion can be art, and that it's okay to be different – a statement that hasn't lost any of its power 20 years later.
What is the original vision?
Pejoski designed the dress as a conscious statement against the mainstream glamour often associated with red carpets. The design features a white swan whose long neckline elegantly drapes around the wearer's neck, while the swan's body forms the silhouette of the dress. Pejoski wanted the swan to capture purity, fragility, and a natural, almost poetic beauty—something that perfectly reflects Björk's artistic essence. At the same time, the dress was intended to convey a provocative and unconventional aesthetic, setting it apart from the often-expected, luxurious evening gowns.
What's special about the swan dress is how it breaks with the conventions of the red carpet. It wasn't just a garment, but a work of art – delicate, playful, and subversive all at once. Many critics at the time saw it as a kind of ironic commentary on the superficiality of the glamorous world. For Björk herself, it reflected her unique style: a blend of playfulness, artistic vision, and her deep connection to nature.
& my recreate?
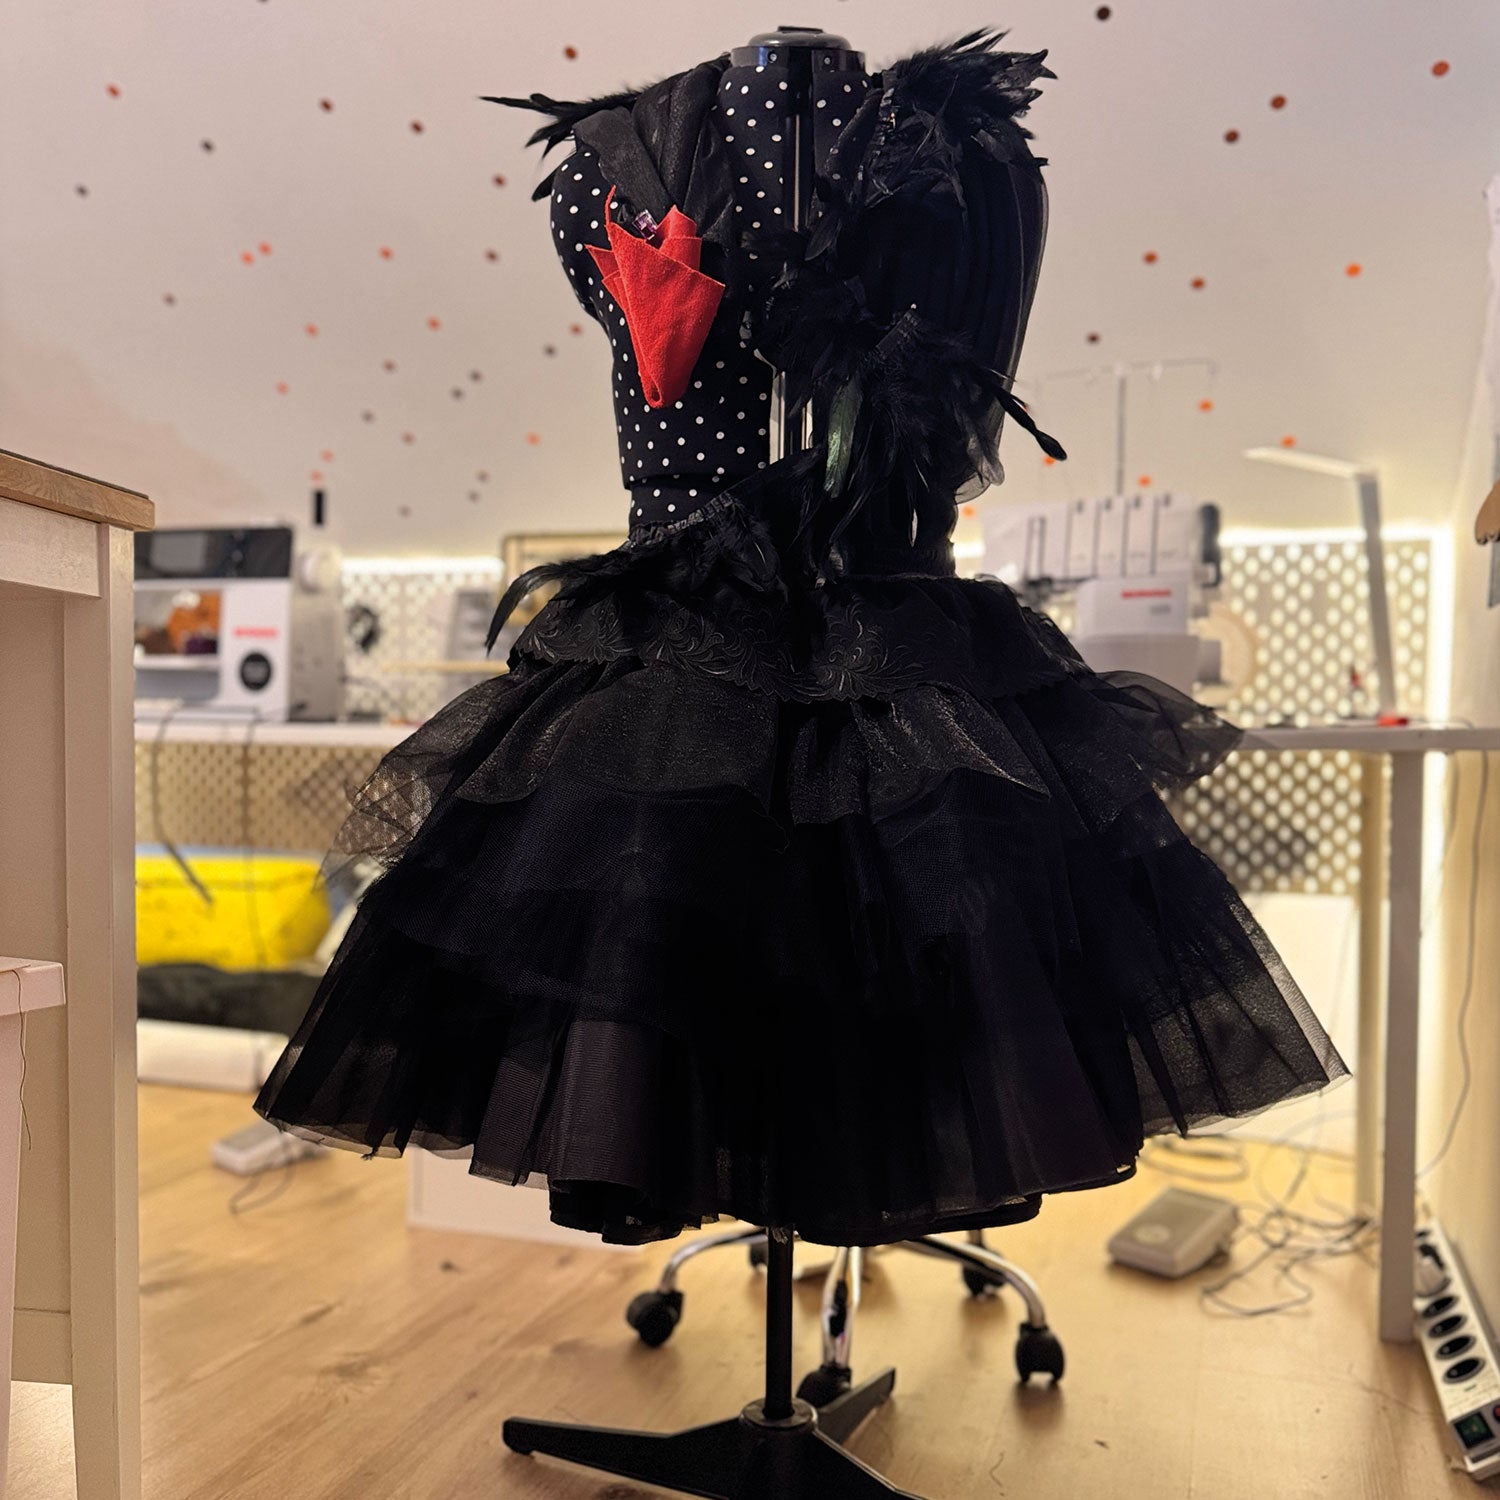
My vision of the swan dress is a darker one. A white dress is out of the question for me, both for stylistic reasons and because it suits my complexion. Although there are certainly many colors that would suit me, it was clear to me from the start: it could only be a swallow feather dress. My first thought was even to design a swallow's head instead of a swan's head. But I'm still pondering that – it shouldn't just be a simple copy of the original, but entirely my own dress.
It should reflect my passion: petticoats, something special, a little bit "more"—but always different. The choice of black not only evokes the grace of swallow feathers, but also the tranquility and subtle sheen that reminds me of ravens. It's a quiet elegance that doesn't shout "Look!" but radiates in its understated elegance.
That's what I love: being more without shouting. And that's exactly what I want to express with this dress. It will be a piece that combines my preferences, my creativity, and my personality – an homage to the original, yet something entirely my own.
Materials & Approach
For the material, I'm using petticoat fabric as the base, since it's quite stiff and provides excellent structure. The multi-layered petticoat, which is already sewn, is also made entirely of this fabric and even has a lining, as specified in the pattern.
The clear advantage: The material's strength allows me to give the layers I will apply an impressive fullness and texture. I will compile a detailed materials list next week to get an overview myself.
Towards the chest and neck, I transition to softer materials. Here, I use tulle – in various styles – as well as viscose, lace, and feathers. These materials not only ensure comfortable wear but also create a smooth, harmonious transition. The combination of the petticoat's structure and the soft, flowing materials towards the top underscores the design's elegance and results in a well-balanced overall look.
The transition from the skirt to the chest becomes a real eye-catcher: with shimmering layers of fabric and feathers, I imitate a shimmering plumage that ends at the swan's neck in intricately hand-sewn sequins. For a perfect fit and hold, I will incorporate a small weight, such as rice or grains, into the beak so that the swan nestles smoothly against the body.
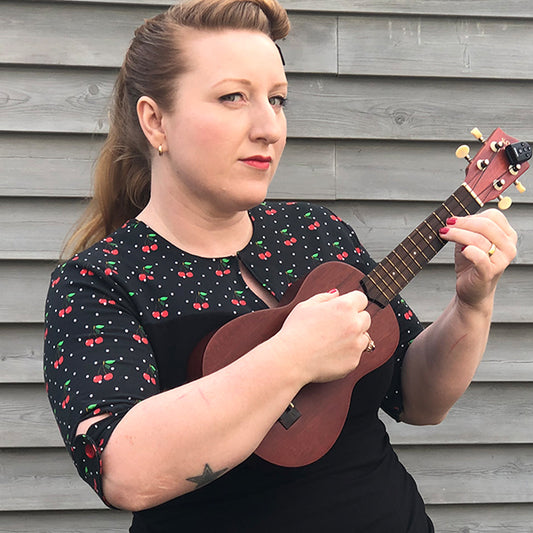
Underneath the swan, Björk wears a glittering, transparent top in the original. Here, I'm using my Skadi pattern, which, with its heart-shaped yoke, provides the ideal foundation. I'm sewing both the yoke and the sleeves from sparkling, transparent fabric that complements the extravagant look.
Another iconic element of the original: Björk symbolically and cheekily laid an egg on the red carpet. I also want to reinterpret that! I'll craft a small handbag from an old papier-mâché Easter egg – a playful detail that captures and underscores the creative spirit of the dress.
With these elements, my version of the swan dress becomes not only a tribute to Björk, but also an independent, modern interpretation of this legendary look.
Basic pattern for the dress?
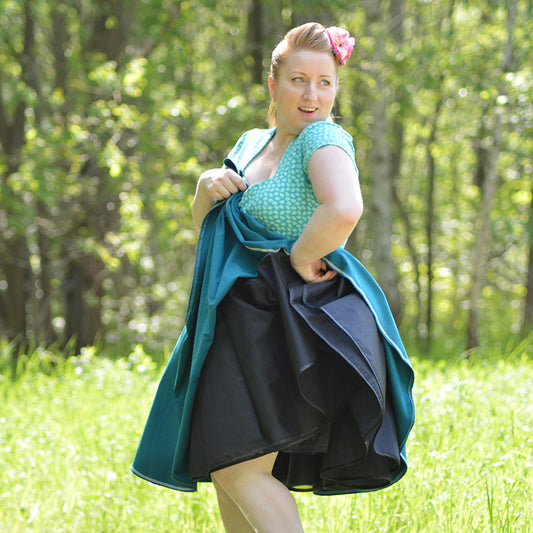
I've decided to recreate Björk's iconic swan dress from 2001 – with one small but striking change: instead of white, my dress will be black. For the skirt, I'm using my "Cream Cake" petticoat pattern as a base, which is perfect for this project.
The cream- filled skirt is perfectly suited to the voluminous yet playful look that defines the swan dress. The petticoat cut provides just the right fullness and structure to lend the design the necessary drama without sacrificing lightness. The individual layers and the flared cut allow the skirt to be elegant yet striking – exactly what is needed for such an extraordinary dress.
The choice of black instead of white gives the design a completely new, dark elegance that fits perfectly into a modern interpretation of the iconic look. The swan, which nestles against the neck and bodice, becomes almost a mystical creature, contrasting with the dark base. At the same time, the cream- colored bodice , with its classic petticoat look, ensures that the dress retains the playful, artistic character of the original.
How does a swan form?
The swan's head is completely redefined. For this, I'm creating a separate pattern piece that will be attached to the skirt. The base is a piece of black woven fabric, which is draped over my chest and culminates in a three-dimensional swan's head. The head is shaped with stuffing and, as a special highlight, features a beak that I'm sewing from a secondhand piece of leather.
Would you like to start a similar project?
Whether for Carnival, a themed party, or a passion project – with creativity, you can create something truly outstanding! Use code SL-BJÖRK to get 30% off both patterns until March 31, 2025. Have fun designing and creating your own personal piece of jewelry!
My tip: Design your costume so that you can also wear it in modified forms. The more time and thought you put into this aspect, the more versatile your masterpiece will be – and you'll be able to enjoy it for a long time.
THE BASE. The sewing patterns for the project
Sewing pattern. Cream tarts | Petticoat
Sewing pattern. SKADI | SHIRT

❥ DESTROY ALL THINGS THAT IS KEEPING YOU DOWN.
-
✁ 01 | BASIC SHIRT SAKDI PATTERN
First things first: Before I start on the petticoat, I cut out all the pattern pieces in the correct size and check the fabric. Skadi serves as the base for the lower shirt, which is why I use a comfortable linen-bamboo jersey in black, as well as a stretchy, transparent fabric for the sweetheart yoke and the sleeves.
The Skadi pattern offers a few extras, but I'm reducing it to the essentials, as the effect comes solely from the sweetheart yoke. The neckline is also very comfortable to wear, which solidified my decision to go with this pattern. I'm still undecided about the sleeve length – I'll decide that later when I try it on with the skirt. -

The pattern pieces for Skadi and the petticoat print quickly thanks to my A1 printer and can be cut out without any problems. A few snaps, and the first task is done. The best part is getting closer!
-

Since the shirt plays a supportive role and I would look exposed without a bottom, I have opted for a middle ground: I will wear matching glittery tights instead of choosing a one-piece like Björk.
-

✁ 02 | PETTICOAT LAYER For the petticoat, I use a very firm fabric that closely resembles the original material of the swan dress. Since I've already sewn my "Cream Cake" pattern in black, a single skirt layer with the appropriate tulle and fabric layers is sufficient to achieve the desired look. All skirt pieces are joined together at the sides, but I leave one side seam open so that the costume remains flexible and adjustable as a tie-front style.
-

I'm finishing the side seams with a French seam, which not only ensures a neat finish but also adds a nice little detail to the inside of the skirt. The hem will remain unfinished for now, as I haven't yet decided how I want to style it. I remember all too well how it felt to use about 50 meters of hem tape – I'm keeping my options open this time.
-

The finished petticoat will sit on top of a classic petticoat and can be opened at the center back. I create this opening simply and elegantly with a satin ribbon that will simultaneously finish the top and side edges. This results in a practical and visually appealing solution that perfectly complements the rest of the design.
-

✁ 03 | LAYER RAFFEN
To give the petticoat extra fullness, I sew several layers of petticoat fabric, tulle, glitter fabric, and lace onto the base skirt. At the bottom, near the hem, I start with a strip of petticoat fabric, as it's the least flexible and I want to make good use of the rest of my material. -

Further up, I'm working with simple tulle. Here, it's a good idea to cut the purchased fabric into smaller strips to get as many linear meters as possible.
The long lengths of tulle are gathered – either traditionally by hand or, as in my case, with a special gathering foot for the overlock machine. To create even more volume, I always used two lengths and sewed the top one directly onto the bottom one with an additional gathering seam.
-

This saves time and adds a lot of movement to the layers. It's definitely a lot of work, but considerably easier than before when I had to incorporate the gathers entirely by hand.
Once all the extra layers are prepared, they can be pinned to the skirt to get a feel for how the different layers look. That's exactly what I did: I arranged everything first and looked at how the combination looked.
-

✁ 04 | SEWING LAYERS After all the panels were prepared, I placed them on the skirt. Each layer should slightly overlap the seam of the previous panel to create a nice, even transition. The two top panels are made of shimmering viscose fabric and a particularly elegant lace, whose feathery appearance perfectly complements the swan theme.
-

To ensure the panels were evenly spaced, I drew a circle around the waistline, marking a clean, even distance between them. I then positioned and secured the panels along this line. For the initial fitting, I loosely basted the layers together with gray thread – this allowed me to see precisely where they needed to be permanently attached.
-

The final fastening is achieved with a zigzag stitch, which is simple and durable. For a perfect finish – even on the inside of the skirt – the seams are neatly concealed and topstitched with a satin ribbon or similar material. This ensures the skirt looks elegant and professional not only on the outside but also on the inside.


SO FAR: After about 5 hours of work.
The skirt is almost finished! Now only the final details are missing: The satin ribbons need to be attached inside and along the outer edges, and the hem of all layers needs to be neatly finished. Since I opted for a tie-tying technique, this step is easy to accomplish – the top satin ribbon will bind all layers and simultaneously serve as the tie.
In the next step, I'll focus on the swan. It should flow harmoniously from the skirt upwards, culminating in a stole that represents the swan's head. Attaching the feathers, sequins, and beads will certainly be particularly intricate, but I'm already looking forward to working out these details.
Right now, I'm incredibly proud that the petticoat is already making such a fantastic impression. It's a wonderful feeling to combine so many different materials into a small WOW! piece and give them a harmonious overall concept.
See you next week, and then definitely with a swan ;)
-

For the blank, I drew the swan's head and beak freehand and transferred the design to black woven fabric. I also added a smooth transition for the area that extends over the breast. The goal is to fill the head with cotton wool while keeping the feathers somewhat flatter, so the shape looks harmonious and isn't too bulky.
I left out the beak because it will later be sewn from a scrap of leather to complete the head.
-

To decorate the swan's body with feathers, I used felt sheets and prepared a small file with three feather shapes, which I'd be happy to share with you. You can download it for free HERE .
The cutting process resulted in numerous feathers of different sizes, giving the swan a beautiful texture.
-

After cutting out the feathers, I arranged them on the swan blank and tried out different layouts. I tapered the feathers towards the neck, as this area lies close to the body and too many details there would be distracting.
Although the overall distribution was consistent, I felt that it lacked some depth.
-

So I added a center seam to each feather for more texture. To do this, I sewed a straight stitch from the tip to the end of the leaf – similar to how you would sew a garland. It's a simple effect that, in black, is a rather subtle detail, but it still adds the desired depth without adding any extra elements.
-

I then rearranged the feathers, this time including the real ones. After marking everything, I sewed each feather individually onto the blank using a sewing machine in the upper section. It was important that the feathers fell naturally and that the sewing was done from the bottom up, so that each layer covered the previous one, creating a harmonious effect.
-

All the feathers are now attached, and I've harmoniously integrated the remaining feathers into the skirt as well. Since I'm wearing something underneath the swan, it was especially important that everything draped well and nicely covered one side. I deliberately omitted tulle in the swan area and removed the lace, as the faux leather already perfectly complemented the overall look.
-

I sewed the leather beak directly onto each blank, working as precisely as possible. Both sides of the swan were sewn together in reverse, and I stuffed the swan's neck with fiberfill – using medical tweezers, as it would have been nearly impossible otherwise.
I reinforced the lower part but didn't line it completely. Then I sewed the bottom edge, which will later be hidden under the feathers, thus creating a single, finished swan piece.
-

The swan was now clearly recognizable, but the eyes and a few special details were still missing. I deliberately chose a black swan with black beads and sequins. After securing some elements with hand stitches, it quickly became clear that a good fabric glue would be the best choice for the sequins.
-

The adhesive left no residue and offered more flexibility for precise placement. I decorated the swan's head with sequins as a special highlight and hand-sewed small and medium-sized beads. A larger black bead became the eye – it provides a soft shimmer without being too overpowering.
-

On one side of the head, I recreated the typical look using sequins. And yes, the beak was a bit stiff due to the leather, but I was already too far along to change it again – and honestly, no swan is perfect.
-

Since I had some feathers left over, I made them into a kind of wreath – originally intended as a possible ruff. Ultimately, however, I decided to wear it as a shoulder piece. I held this so-called epaulette perfectly in place with an elastic band across my chest, secured by my other arm. A great way to make good use of the remaining feathers and add a unique detail to the look!
-

You're probably thinking: HUH??? What's that supposed to mean?
Quite simply: I needed a break – so I made everyone some waffles. Sometimes waffles are just what you need to manage those last few touches !
I don't have a recipe, unfortunately, because I always bake by feel, but I can give you a tip : Get yourself an older waffle iron. They still have plenty of power, and your waffles will be REALLY crispy!
-

A quick glance at the shoulders – and I have to say, I could easily imagine wearing this piece more often. Imagine a dark concert by Deine Lakaien , and suddenly these swan-shaped shoulder pieces would have a new purpose.
But then without the swan.
-

There really isn't a "HERE I AM" picture – crazy, right? I worked so hard for this day and then just enjoyed it.
So instead, here are some lovely impressions from the party – and especially from my girlfriends. By the way, in this picture you can see @k.triny_lingerie's costume and me getting ready.
-

Makeup: Not too much, not too little – but definitely dark. I deliberately avoided feathers around my eyes. Honestly, the whole look was special enough as it was! And since I still wanted to twirl passionately across the dance floor with my gander, I opted for understatement. He deserved the spotlight.
-

Xena, the Warrior Queen, is by my side . If you're interested in the incredibly creative way she made her costume, you can see the process on her page and feel inspired to create your own childhood hero costume.
-

Brenda (BH902010), Xena & Björk = Party. This is a cute placeholder because I don't have a single picture from the party where I'm alone. I'm either dancing like a candy, pulling a face, or only half in the frame.
-

As soon as I feel like it, I'll pose in front of the photo wall for you.
And sometimes it's perfectly fine not to have a picture of everything. Because then one thing is clear:
I enjoyed it, the time flew by, and I was with the right people. Cheers!


